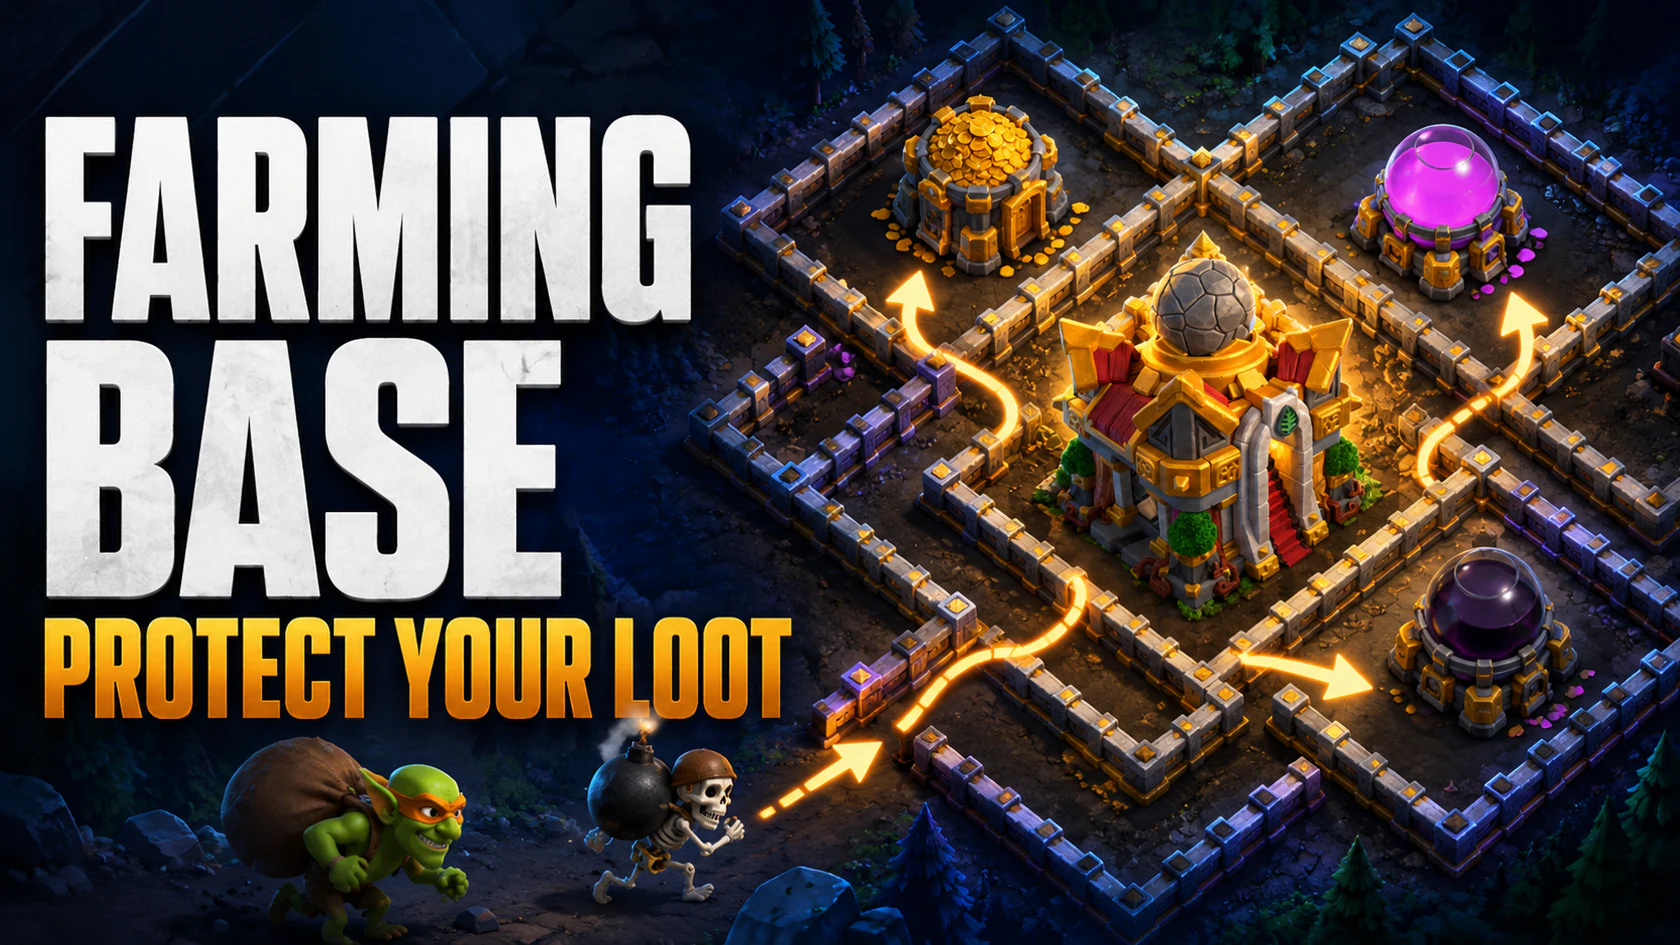
A Clash of Clans farming base layout is designed to make stolen resources expensive to reach. It cannot guarantee a defense, prevent every storage from being destroyed, or replace active farming. Its job is to distribute loot, force attackers to commit more of their army, and reduce the chance that one clean route exposes every valuable building.
That goal differs from a war base. A war layout is judged by stars and destruction. A farming layout is judged by how much useful loot remains after realistic multiplayer attacks. You still need sound defensive principles, but storage exposure and replay evidence become the main design signals.
Short answer: Separate storages, protect the Dark Elixir route, avoid giving one spell or one entry access to several resource buildings, and revise the layout from defense replays instead of trusting its appearance.
What is a farming base layout?
A farming base is a Home Village layout optimized around resource retention. Supercell’s official Loot and Star Bonus guide explains that attackers can gain resources from collectors, storages, the Town Hall, and the Clan Castle. That means protecting “the storages” alone is incomplete: the layout must account for every building that can expose available loot.
The best layout depends on the account’s current objective:
| Base purpose | Primary success measure | Typical layout priority |
|---|---|---|
| Farming | Resources retained after multiplayer defenses | Split storages, costly routes, protected Dark Elixir, replay-driven traps |
| Trophy pushing | Stars and trophies denied | Town Hall protection, percentage denial, broad defensive coverage |
| Clan War | Best attack denied across planned attempts | Anti-three-star structure, deceptive pathing, attack-specific trap logic |
| Hybrid | Balance between resources and trophies | No single asset fully exposed, with an accepted compromise in both goals |
A copied war base may use storages as high-hit-point buffers around defenses. That can be reasonable for star defense and terrible for farming because the attacker is rewarded for taking the same path the layout invites.
Start with a loot-exposure audit
Before moving a wall, identify what an attacker can steal and which resources matter most right now.
List the protected assets
Record these separately:
- Gold Storages;
- Elixir Storages;
- Dark Elixir Storage;
- collectors, mines, and drills with uncollected production;
- the Town Hall and Clan Castle, which can also contain resources;
- the Treasury balance and when you plan to collect it;
- any resource you are intentionally saving for the next upgrade.
Not every building needs equal protection every day. If Dark Elixir is funding consecutive hero levels, its route deserves more defensive attention than a nearly empty Gold Storage. If all builders are committed and Elixir is approaching the cap, protecting that Elixir may matter less than converting eligible surplus into walls.
Mark the shortest credible routes
Inspect the layout from each side and ask:
- Which resource building can be reached with the fewest compartments?
- Can one entry reach two or more storages?
- Does a straight path connect the edge, a storage, and the core?
- Can an attacker collect meaningful loot without committing heroes or the full army?
- Does one funnel expose both the Town Hall and the Dark Elixir Storage?
The shortest route is not always a straight line. Troop targeting, available buildings, wall openings, and compartments influence where an army actually travels. Friendly Challenges and defense replays are more valuable than visual guesses.
The resource-protection layout framework
The existing defensive base-building guide covers centralization, defensive spacing, compartments, funnels, and trap placement. A farming layout applies those principles through a narrower five-part resource framework.
1. Split the storage value
Do not place every Gold and Elixir Storage in the same compartment or along the same path. When several storages can be reached under one spell-supported push, the attacker gets too much value from one successful entry.
Distribute major storages across multiple defensible zones. The goal is not perfect symmetry. It is to make complete loot collection require broader destruction and more troop commitment.
Useful checks include:
- no single compartment contains the entire balance of one important resource;
- opposite-side storages cannot both be reached through the same opening;
- splash and point defenses cover different storage approaches;
- high-value resource buildings are not all vulnerable to the same area effect;
- collectors outside the walls do not form a free funnel directly toward a storage.
2. Give Dark Elixir a deliberately expensive route
Dark Elixir often funds heroes and selected research, so losing it may interrupt a planned queue even when Gold and Elixir are abundant. Place the Dark Elixir Storage where reaching it requires a meaningful commitment and where the escape path does not immediately reveal other high-value buildings.
“Central” is not enough by itself. A central storage at the end of a clean, obvious channel can be easier to reach than an off-center storage protected by compartments, overlapping defenses, and awkward pathing. Audit the entire route rather than the map coordinate.
3. Make the Town Hall decision intentional
The Town Hall is both a victory objective and a resource-bearing building. Its placement changes attacker motivation.
- A deeply protected Town Hall can make the most valuable route overlap with the core, increasing the force required to reach it.
- A less protected Town Hall may attract attackers seeking a quick star, but it also exposes the resources held there and does not guarantee the rest of the base will be ignored.
- A Town Hall placed beside several storages can turn one successful core push into a large resource loss.
Do not rely on old “put the Town Hall outside for a free shield” advice as a universal rule. Evaluate the current multiplayer rules, league, available loot, and actual defense results. The correct placement is the one that supports the resource goal under the current game system.
4. Use compartments to separate outcomes
A farming base benefits when breaching one section does not automatically open the next. Walls should divide resource zones and redirect movement—not simply form one large perimeter.
Look for these structural weaknesses:
- wall junctions that open several compartments at once;
- storage compartments with an unprotected exterior wall;
- long channels that guide troops directly into the loot core;
- empty spaces that create an unintended straight route;
- outer buildings placed so neatly that they create the attacker’s funnel for free.
The layout should create separate decisions. An attacker who chooses the eastern Gold Storages should still need a second plan for western Elixir and a third commitment for Dark Elixir.
5. Place traps from evidence
Traps are strongest on demonstrated paths. Review several defenses and note where comparable armies enter, where funnel troops travel, where wall-breaking happens, and where the main force bunches together.
Then adjust traps to punish those repeated behaviors. Random trap movement may make a base less predictable, but evidence-driven movement makes it more effective. After changing the layout, review a new sample rather than assuming the fix worked.
How to build or adapt a farming layout step by step
Step 1: Define the resource objective
Choose one priority for the next upgrade cycle. Examples:
- preserve Dark Elixir for two hero levels;
- retain Gold for a major defense;
- avoid Elixir overflow while the Laboratory runs;
- protect balanced storages while preparing to advance Town Hall.
This priority decides which route receives the strongest protection. A base cannot make every asset equally difficult to reach.
Step 2: Place resource zones before decorative symmetry
Position the Dark Elixir Storage and the Town Hall intentionally, then distribute Gold and Elixir Storages across separate zones. Avoid creating one obvious “vault” that rewards a single successful core attack with nearly everything.
Symmetry can make a base easy to understand. That is not always bad, but resource distribution should come before a perfectly mirrored appearance.
Step 3: Add defensive coverage by route
For each storage zone, identify which defenses can engage the likely approach. Do not cluster every important defense beside the most important storage; one concentrated attack could remove both protection and prize.
Instead, build overlapping but distributed coverage. The attacker should face meaningful damage on the way in, during the storage fight, and while moving toward the next zone.
Step 4: Build compartments that force a second commitment
Separate resource zones with walls and pathing obstacles. Test whether opening the first wall grants access to more than intended. If one breach exposes two zones, change the junction or reposition the nearby buildings.
Do not evaluate walls only by their level. Their geometry determines whether they buy time and split the army.
Step 5: Set the perimeter without gifting a funnel
Outer buildings consume attacker time, but perfectly spaced edge buildings can also make funneling easy. Mix their depth and coverage so clearing one side requires deliberate troop placement.
Collectors with significant uncollected resources deserve more attention than empty collectors. Collect resources before long periods away when practical; a layout cannot protect uncollected production as effectively as removing the available target.
Step 6: Run Friendly Challenges
Ask clanmates to attack with the armies you commonly face. Friendly Challenges let you inspect routing and storage access without risking multiplayer loot. Request more than one attack style; a layout that frustrates one army may create a clean route for another.
Use the results to answer:
- Which resource was reached first?
- How much army commitment did it require?
- Did the layout split the force or let it remain concentrated?
- Which defense lost value early?
- Which wall opening exposed more than one zone?
Step 7: Review real defenses by loot retained
Stars alone do not evaluate a farming base. A one-star defense that loses every important storage may be worse than a two-star defense that retains the resource needed for the next upgrade.
Record a small sample of comparable defenses:
| Replay signal | What it suggests | Possible adjustment |
|---|---|---|
| Same storage falls first repeatedly | Its route is too cheap or obvious | Move the storage, alter the wall junction, or strengthen approach coverage |
| Main force stays together through several zones | Compartments are not splitting pathing | Separate openings and remove straight channels |
| Attackers take outer loot and leave | Perimeter value is high but inner protection works | Collect more often; avoid weakening the core unnecessarily |
| One entry exposes Town Hall and Dark Elixir | Too much value shares one route | Separate the objectives or add another compartment decision |
| Traps trigger after the important fight | Placement is based on appearance, not traffic | Move traps onto observed entry and bunching points |
Make one or two changes at a time. If everything changes, the next replay cannot tell you which adjustment mattered.
Farming layouts by progression stage
Early Town Hall levels
At early levels, compact coverage and simple compartments matter more than elaborate anti-meta tricks. Protect the storages required for the next upgrade and avoid leaving the strongest resource concentration directly on the edge.
Because upgrade cycles are shorter, revisit the layout whenever new defenses or wall pieces unlock. A copied layout built for a different inventory may leave gaps when forced onto the wrong building set.
Mid-game Town Halls
Resource competition becomes more noticeable as heroes, research, buildings, and walls all request different currencies. Split storages across more than one layer and make the Dark Elixir route intentional.
This is also where replay analysis becomes essential. Attackers have more specialized armies, so a base that looks strong may still give one common composition a repeatable path.
Late-game Town Halls
Late-game farming bases face stronger armies, more flexible Hero Equipment, and attackers capable of opening or bypassing compartments. The realistic goal is not to make loot unreachable. It is to increase the investment needed for each additional resource zone and prevent one entry from collecting everything.
Avoid precise “best layout for the current meta” claims unless the layout has recent replay evidence. Balance changes can quickly invalidate troop-specific advice, while distribution, route separation, and iterative testing remain useful.
Legend League exception
Farming logic changes in Legend League. Supercell’s official Loot in Legend League guide states that players do not lose resources when their village is attacked there. A Legend League defensive layout should therefore prioritize stars, trophies, and destruction denial rather than multiplayer resource retention.
If you move between Legend League and regular multiplayer, do not assume the same success metric applies to both environments.
Connect saved loot to an upgrade plan
Resource retention matters only when it serves a spending decision. Once the next target is defined:
- Use Left to Max to identify recognized remaining levels and the result’s data coverage.
- Use the Wall Cost Calculator when walls are the flexible Gold or Elixir outlet.
- Use the Hero Catch-Up Calculator when Dark Elixir retention supports a hero plan.
- Write the next upgrade cost beside the resource the farming layout is protecting.
- Re-evaluate the layout after the upgrade begins; the highest-value protected resource may change.
This creates a feedback loop: define the upgrade, protect the funding resource, start the upgrade, then change the layout priority for the next target.
Common farming-base myths
“A strong farming base prevents all loot loss”
No layout guarantees that. Strong attackers can defeat well-designed bases. Judge improvement by route cost, loot retained, and repeatable replay evidence.
“All storages belong in one central vault”
Clumping creates a high-value target. Central protection can help, but complete storage concentration allows one successful push to collect too much.
“An outside Town Hall always protects resources”
The Town Hall contains resources, and attacker behavior is not guaranteed. Treat its position as a deliberate tradeoff and verify the result in current multiplayer defenses.
“The most popular copied base is the safest”
Popularity gives attackers more opportunities to learn the layout. Copying is a valid starting point, but adapt storage positions, traps, and weak routes to your building inventory and replay evidence.
“A successful defense means the farming base worked”
Stars and loot retention measure different outcomes. Review which resource buildings fell and whether the retained balance still funds the planned upgrade.
Frequently asked questions
What should go in the center of a farming base?
There is no universal center package. The Dark Elixir Storage, Town Hall, Clan Castle, and the resource funding the next major upgrade are common priorities, but route quality and compartment structure matter more than simply occupying the middle tile.
Should Gold and Elixir Storages be together?
Usually they should be distributed across separate zones so one entry cannot collect the full balance. Use defensive coverage and compartments to make the attacker commit again for each additional storage group.
Is a farming base useful in Legend League?
The layout is still used for defense, but resource retention is not the objective because Supercell states that defensive attacks in Legend League do not remove your resources. Optimize that layout for stars and trophies instead.
How often should I change a farming layout?
Change it when replays expose a repeatable cheap route, after important building or balance changes, or when the resource priority changes. Avoid changing everything after one unusual attack; look for a pattern.
Can I use a war base for farming?
You can, but its incentives may conflict with resource protection. War layouts may expose storages as defensive buffers because only stars and destruction determine the result. Audit storage routes before using one in multiplayer.
Do higher walls automatically protect more loot?
Wall strength helps only when the geometry forces attackers to engage those walls. A strong wall around a compartment that one opening bypasses provides little resource protection.
Where can I find layouts to adapt?
Browse the ClashVault layouts section for starting points, then evaluate each design with the storage-distribution and replay checklist in this guide. Do not assume a copied layout matches your exact building inventory or current opponents.
Methodology, sources, and limitations
This guide applies ClashVault’s existing defensive-design principles to the narrower problem of multiplayer loot retention. Game-system claims are grounded in Supercell’s official guides to Loot and Star Bonus, Player Tags, and Legend League loot.
ClashVault does not claim that a layout is unbeatable or that one design remains optimal after every balance change. Layout performance depends on building levels, available defenses, league, attackers, trap knowledge, and game updates. Use Friendly Challenges and current defense replays to validate changes.
This guide was independently rewritten from an AutoSEO topic brief, reviewed for overlap with the existing defensive-base guide, and verified by Patrick Nguyen on July 19, 2026.